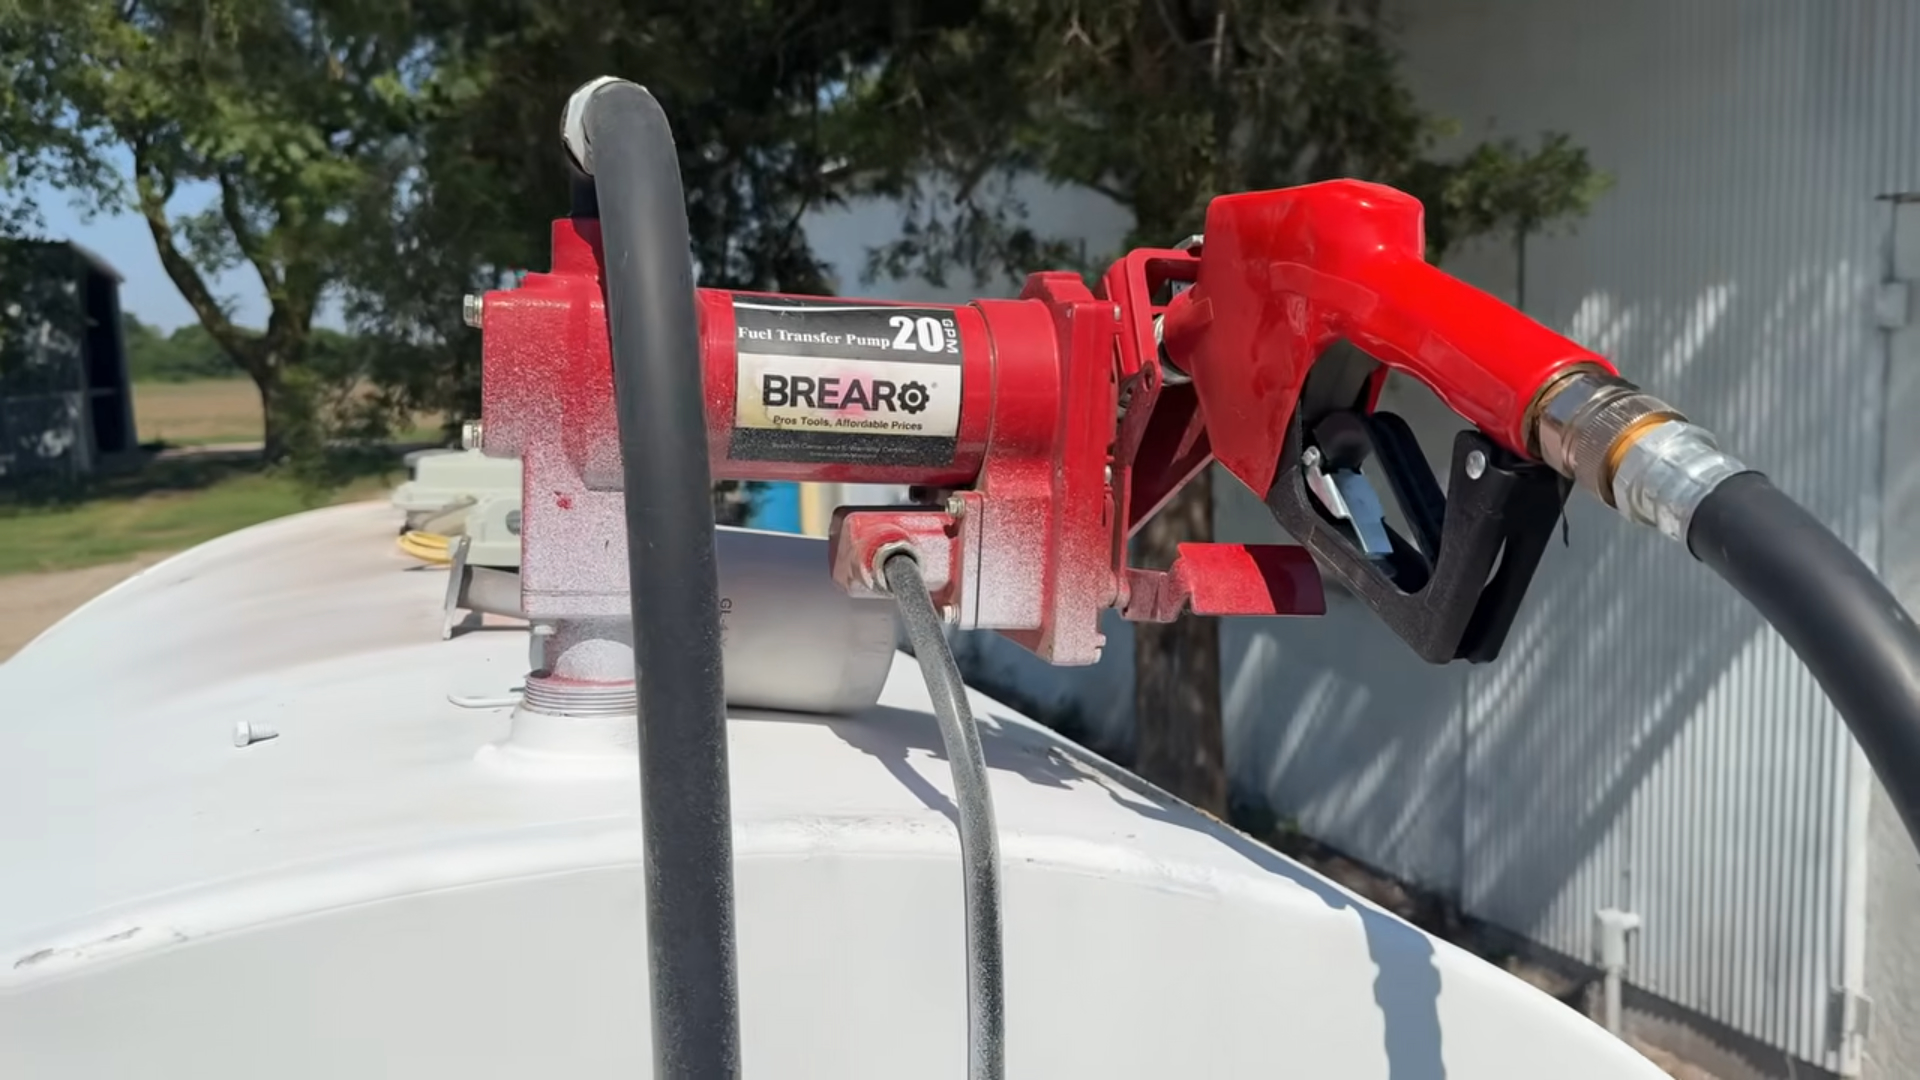
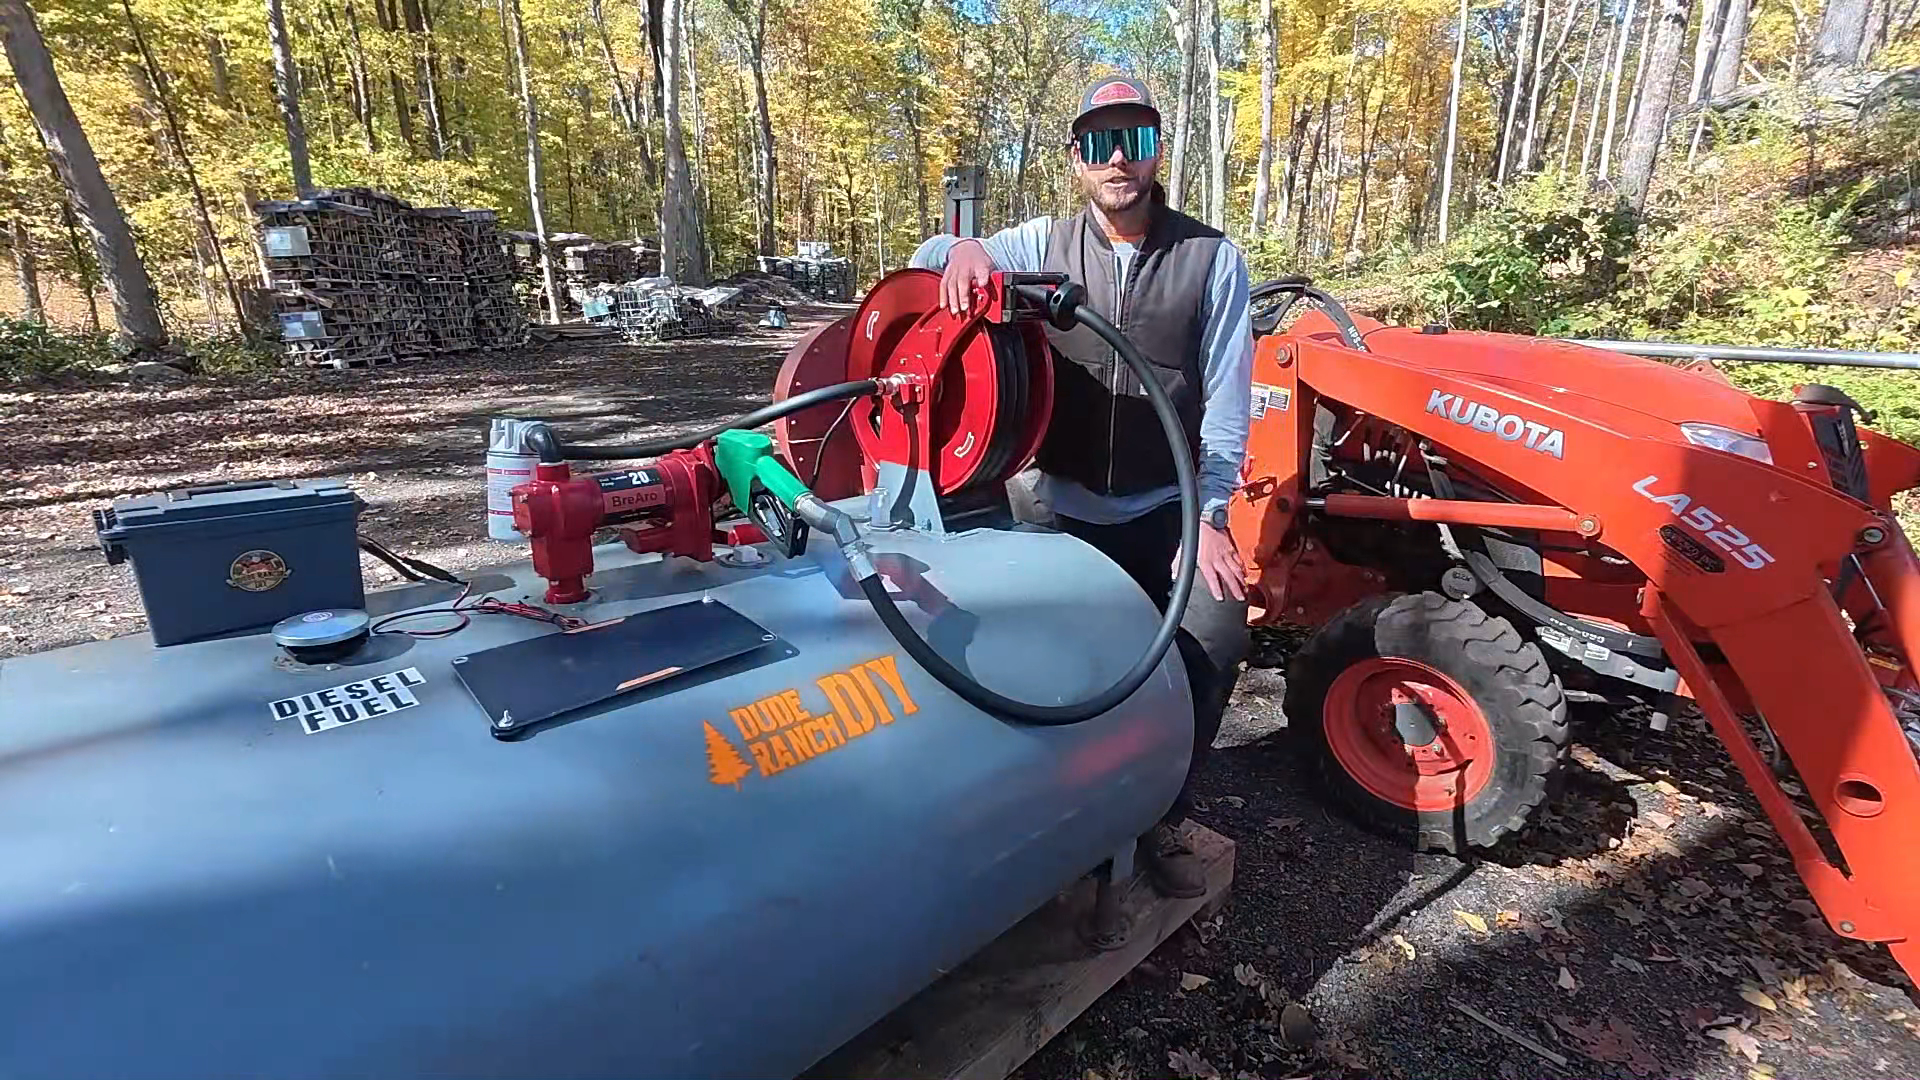
Fuel Transfer Pump Troubleshooting: 10 Common Problems and Quick Fixes
Jul 30,2026 | Brearo
A fuel transfer pump can stop working for many reasons. Sometimes the problem is as simple as a loose battery connection or clogged filter. In other cases, the pump may be losing prime, overheating, leaking around a fitting, or struggling against too much restriction in the fuel system.
The fastest way to solve the problem is to start with the symptom, check the simplest external causes first, and avoid disassembling components that should only be serviced by a qualified technician.
This guide covers ten common fuel transfer pump problems, the most likely causes, and practical checks you can perform before contacting technical support.
Important: This is a general troubleshooting guide. Always follow the installation, fuel compatibility, duty-cycle, wiring, maintenance, and safety instructions supplied with your specific pump model.
Safety First: Before You Troubleshoot
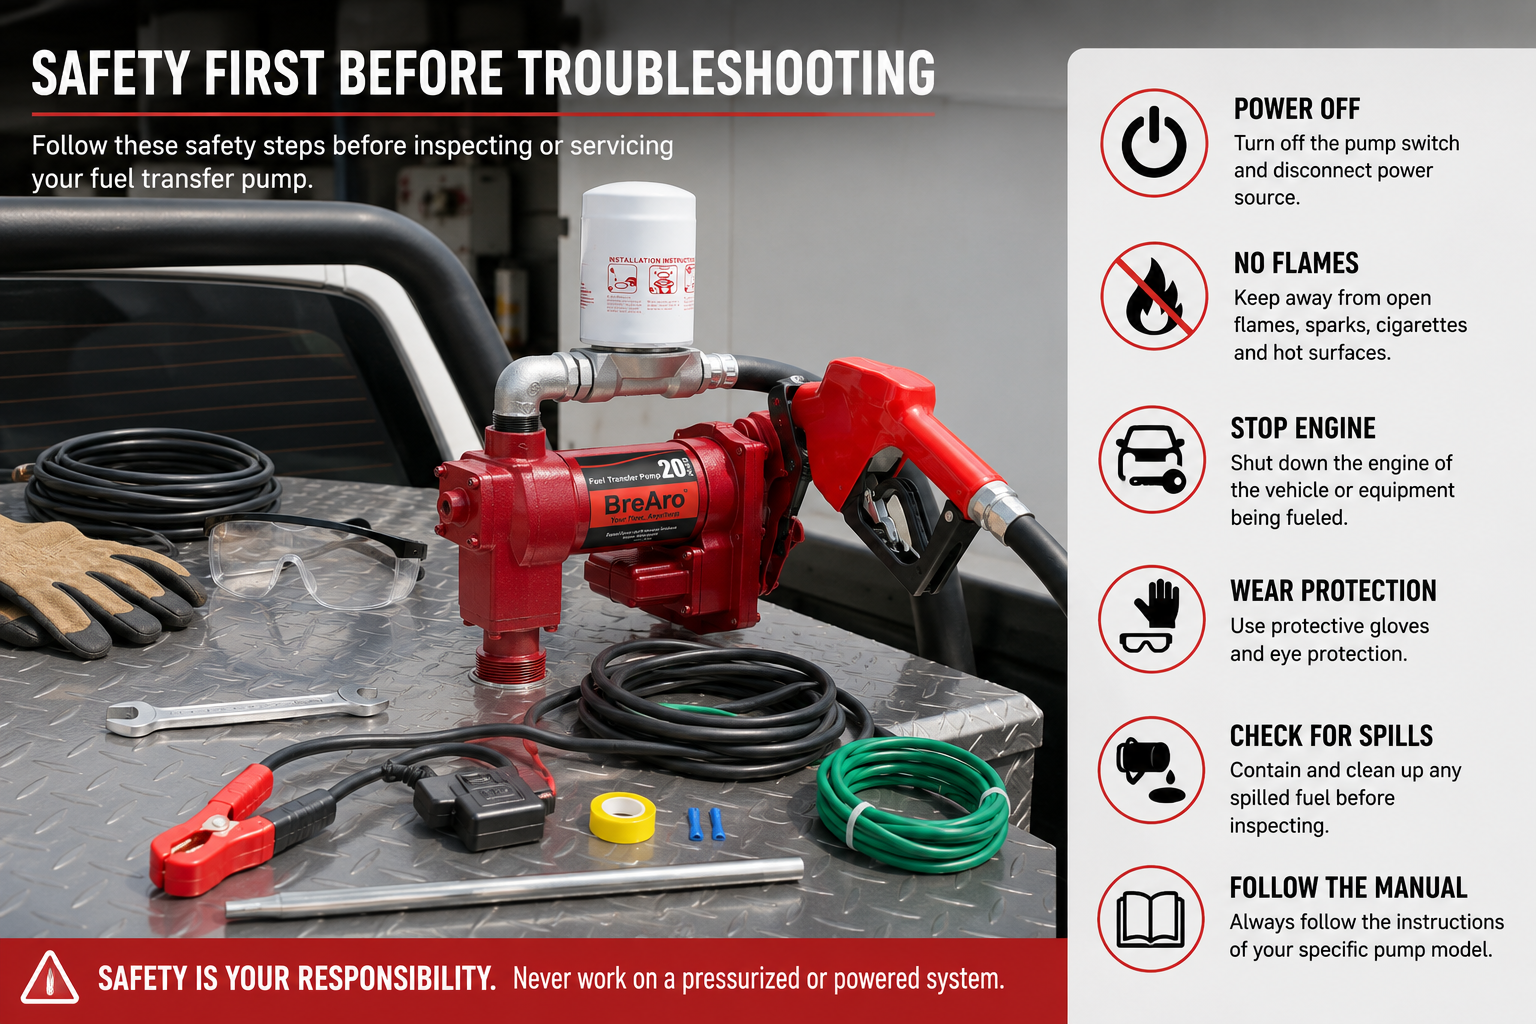
Fuel transfer equipment handles flammable or combustible liquids. Before inspecting any part of the system:
-
Stop dispensing immediately.
-
Turn the pump switch off.
-
Shut down the vehicle or equipment being fueled.
-
Disconnect the pump from its power source when it is safe to do so.
-
Keep cigarettes, flames, sparks, welding equipment, and hot surfaces away.
-
Work in a properly ventilated area.
-
Contain and clean up any spilled fuel using an appropriate procedure.
-
Wear suitable gloves and eye protection.
-
Use only approved containers and tanks for the fuel being transferred.
-
Do not open the motor housing or bypass safety devices.
When flammable liquids are transferred, applicable workplace rules may require suitable dispensing equipment, approved containers, and electrical interconnection or bonding between the nozzle and receiving container. Requirements depend on the fuel, container and application, so users should follow the relevant regulations and local codes.
Some pump motors use thermal overload protection and may restart after cooling when power is still connected. Turn the switch off instead of assuming that a stopped motor is safe to inspect.
For more operating precautions, read our Fuel Transfer Pump Safety Guide.
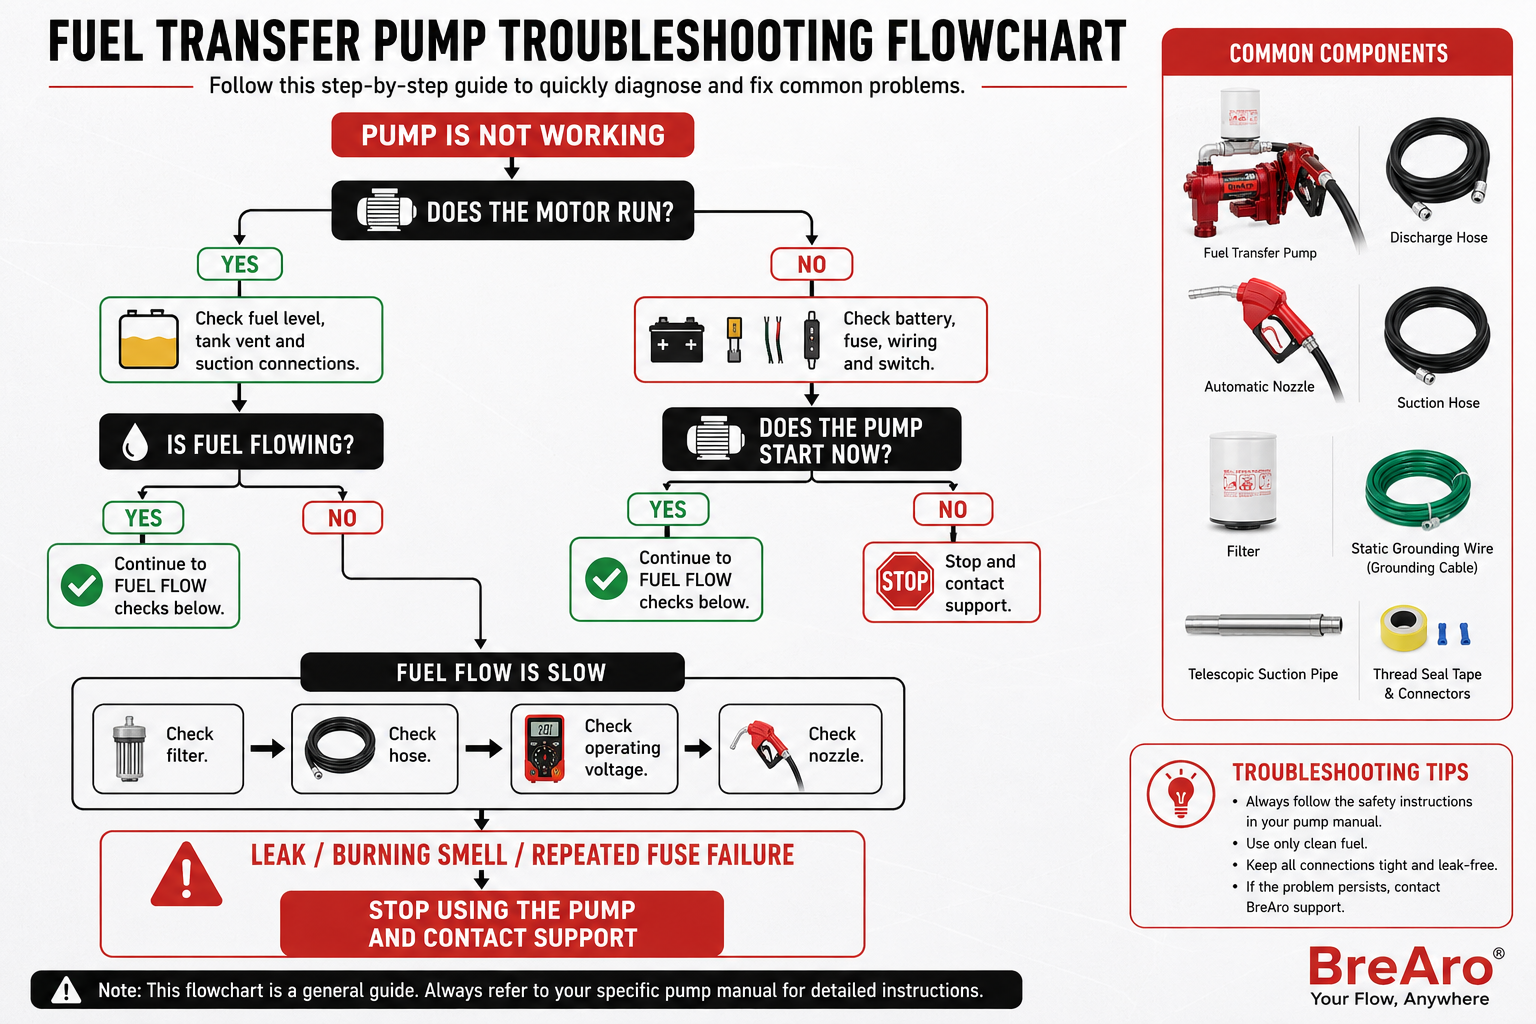
Quick Fuel Transfer Pump Troubleshooting Table
| Symptom | Common causes | First things to check |
|---|---|---|
| Pump will not start | No power, blown fuse, loose wiring or incorrect polarity | Battery, fuse, terminals and switch |
| Motor runs but no fuel moves | Air leak, blocked inlet or pump not primed | Suction pipe, fittings, fuel level and filter |
| Pump loses prime | Suction-side leak, low fuel level or excessive lift | Inlet hose, tank level and connections |
| Flow is too slow | Clogged filter, low voltage or system restriction | Filter, voltage, hose and nozzle |
| Pump stops during use | Thermal overload or duty-cycle limit | Switch pump off and allow it to cool |
| Fuse keeps blowing | Electrical short, incorrect fuse or mechanical load | Wiring, cable damage and specified fuse |
| Fuel leaks from the system | Loose fitting, damaged seal or cracked hose | Fittings, O-rings, hose and swivel |
| Automatic nozzle shuts off early | Excessive flow, poor angle or blocked sensing port | Reduce flow and reposition the nozzle |
| Flow meter is inaccurate | Air, poor calibration, debris or wrong flow direction | Remove air and verify calibration |
| Hose reel retracts poorly | Hose twist, guide misalignment or installation problem | Straighten hose and inspect reel alignment |
1. The Fuel Transfer Pump Will Not Start
When a 12V fuel transfer pump does not respond at all, begin with the power supply.
Check the pump switch
Make sure the switch is fully in the operating position. If the pump uses a nozzle holder or switch lever, confirm that the mechanism is moving correctly.
Do not repeatedly cycle a damaged or unusually hot switch.
Check the battery connection
Inspect the positive and negative connections for:
-
Loose clamps
-
Corrosion
-
Dirt or fuel residue
-
Damaged terminals
-
Incorrect polarity
-
A weak battery
-
An undersized or damaged extension cable
A battery may show voltage while resting but drop significantly when the pump is under load. When appropriate, test the supply voltage while the pump is being switched on.
Inspect the fuse
Use only the fuse type and rating specified for the pump.
A blown fuse may indicate:
-
A damaged power cable
-
A short circuit
-
Incorrect wiring
-
A stalled pump
-
An overloaded motor
-
A poor connection causing excessive current draw
Never install a larger fuse simply to keep the pump running. A larger fuse can remove important protection from the electrical system.
Check hardwired installations
For permanently installed truck or service-body systems, inspect the grounding point, terminals, cable routing, circuit protection and connector condition.
High-flow pumps may require more current than smaller pumps. Poor wiring, a weak connection or an incorrect fuse setup can reduce performance and create additional heat. BreAro’s truck-mounted pump guide recommends checking voltage, amperage, fuse requirements, wire gauge, cable length and duty cycle before installation.
Read: How to Choose a 12V Fuel Transfer Pump for a Truck-Mounted Tank
2. The Motor Runs, but No Fuel Comes Out
A running motor with no fuel delivery usually points to a priming, suction or blockage problem.
Confirm that fuel is available
Check that:
-
The source tank contains enough fuel.
-
The suction pipe reaches below the fuel level.
-
The suction pipe has not moved or loosened.
-
The tank vent is open and unobstructed.
-
The pump is installed in the correct orientation.
Inspect the suction side for air leaks
The suction side of the system must be airtight.
Even a small leak may allow air to enter without producing an obvious external fuel leak. Check threaded connections, adapters, hose clamps, suction tubes and inlet seals.
A loose suction fitting can prevent the pump from developing enough vacuum to draw fuel.
Check for restrictions
Inspect the:
-
Inlet screen
-
Suction tube
-
Fuel filter
-
Delivery hose
-
Nozzle
-
Elbows and fittings
A blocked outlet can also interfere with priming. Manufacturer troubleshooting manuals commonly identify suction leaks, clogged filters, blocked outlets, low liquid levels and excessive distance from the fuel source as causes of priming and capacity problems.
Do not allow the pump to continue running dry. Follow the dry-running limit stated in the product manual.
3. The Pump Primes but Keeps Losing Prime
A pump that works initially and then loses fuel flow often has an intermittent suction-side problem.
Look for loose inlet connections
Vibration from a truck, trailer or worksite can loosen threaded connections over time. Inspect every connection between the tank and pump inlet.
Check the suction hose or pipe
Look for:
-
Small cracks
-
Flattened sections
-
Loose clamps
-
Damaged seals
-
Incorrect pipe size
-
A suction pipe positioned above the fuel level
A hose may appear normal from the outside but collapse internally when the pump creates suction.
Check the source tank vent
As fuel leaves the tank, air must enter to replace it. A blocked or closed vent can create vacuum inside the tank and reduce or stop flow.
Stop using the pump if the tank appears to deform, contract or build abnormal pressure.
Reduce excessive suction lift
Install the pump as close to the source tank as practical and minimize unnecessary vertical lift, long inlet runs and restrictive fittings.
Pump manuals note that effective suction performance is reduced by friction through pipes, horizontal runs, elbows and fittings.
4. The Fuel Transfer Pump Is Running Slowly
A pump advertised at a particular flow rate will not necessarily deliver that exact rate in every installation.
Actual flow depends on the complete system, including:
-
Battery voltage
-
Fuel temperature and viscosity
-
Suction lift
-
Hose diameter
-
Hose length
-
Filter condition
-
Number of elbows and fittings
-
Nozzle type
-
Meter restriction
-
Tank venting
Start with the filter and inlet screen
A partially clogged filter is one of the most common causes of slow flow. Inspect and replace the filter according to the recommended service interval.
Clean the inlet screen if the product manual identifies it as a user-serviceable component.
Check the hose
A longer or smaller-diameter hose creates more resistance. Inspect the hose for:
-
Kinks
-
Crushing
-
Internal damage
-
Sharp bends
-
Improper sizing
Do not assume that adding a longer hose will maintain the same flow rate.
Check voltage while the pump is operating
Loose battery clips, corrosion, an undersized cable or a weak battery can cause voltage drop. The motor may still run, but more slowly and with less pumping performance.
Consider the fuel temperature
Cold diesel becomes more resistant to flow. Low temperature can increase the load on the pump and make a restricted filter more noticeable.
Only use fluids specifically approved for the pump. Do not use a low-viscosity fuel pump for engine oil, hydraulic oil or another thick fluid unless the model documentation explicitly permits it.
5. The Pump Stops or Overheats During Use
Some fuel transfer pumps include thermal overload protection that stops the motor when its temperature rises beyond a safe operating range. BreAro lists thermal overload protection on several current 12V pump configurations, but the operating limits and reset procedure must be checked for the exact model.
When the pump stops:
-
Release the nozzle.
-
Move the pump switch to the off position.
-
Disconnect power when it is safe.
-
Allow the pump to cool.
-
Inspect the system before restarting.
Do not keep switching the pump back on without determining why it overheated.
Possible causes include:
-
Exceeding the pump’s duty cycle
-
Running in bypass for too long
-
A clogged filter or inlet screen
-
A restricted suction pipe
-
Low supply voltage
-
Incorrect fuel viscosity
-
A blocked outlet
-
Internal mechanical resistance
Duty cycle is model-specific. One pump may be designed for intermittent operation while another may support a different operating schedule. Never apply the duty-cycle rating of one product to another.
6. The Pump Keeps Blowing a Fuse
A fuse that fails repeatedly is a warning, not an inconvenience.
Turn the system off and inspect it before replacing the fuse again.
Check for cable damage
Look for insulation that is:
-
Cut
-
Crushed
-
Melted
-
Pinched
-
Rubbed through
-
In contact with sharp metal
-
Routed near a hot engine or exhaust component
Check the connectors
Loose or corroded connectors can create resistance and heat. Inspect battery clamps, ring terminals, switches, fuse holders and grounding points.
Confirm the correct fuse
Use the exact fuse specified by the manufacturer. Do not replace it with a larger-capacity fuse.
Consider a mechanical blockage
A jammed pump or restricted rotor can increase the electrical load. Do not open the motor housing or attempt an internal repair unless the manual specifically identifies the repair as user-serviceable.
If the wiring appears correct and the fuse continues to fail, stop using the pump and contact technical support.
7. Fuel Leaks Around Fittings, Hoses or Seals
A fuel leak must be corrected before the system is operated again.
Turn off the pump, disconnect power and contain the leaking fuel. Once the area is safe, clean the connection so that the source of the leak can be identified.
Common leak locations
Inspect:
-
Pump inlet and outlet threads
-
Filter connections
-
Meter connections
-
Hose ends
-
Nozzle connection
-
Swivel fitting
-
Tank adapter
-
O-rings and gaskets
-
Hose surface
Check threaded fittings
Make sure the fitting type and thread standard match. Cross-threaded components may feel tight without creating a proper seal.
Use only a thread sealant approved for the fuel, fitting material and application. Avoid allowing excess sealant to enter the fuel passage.
Do not overtighten cast or aluminum parts. Excessive force can damage threads or crack a component.
Inspect seals and hoses
Replace damaged O-rings, gaskets and hoses with fuel-compatible components of the correct size and specification.
Stop troubleshooting and request service when fuel appears to be leaking from:
-
The motor housing
-
A cracked pump body
-
A shaft seal
-
An electrical switch
-
A non-serviceable internal component
8. The Automatic Nozzle Keeps Shutting Off Early
An automatic nozzle is designed to stop fuel flow when the sensing system detects liquid near the end of the spout. Premature shutoff does not always mean the pump is defective.
Try the following external checks.
Reduce the flow rate
Fuel may be entering the fill pipe faster than the tank can accept it. Reduce the trigger or clip position and observe whether the nozzle continues operating.
Adjust the nozzle angle
Make sure the nozzle is inserted securely and positioned so that fuel can flow freely into the fill neck.
A poor angle can cause splashback to reach the sensing port and trigger an early shutoff.
Reposition the nozzle
Do not force the spout too deeply into the fill pipe. Try withdrawing or rotating it slightly while keeping it securely in the opening.
Inspect the sensing port
Check for dirt or debris near the small sensing opening at the nozzle tip. Do not insert a tool that could damage the port.
Inspect for external damage
A bent spout, damaged venturi passage or worn nozzle may require replacement.
Official automatic-nozzle troubleshooting instructions identify excessive flow, nozzle position, spout damage and debris in the venturi port as common causes of premature shutoff.
Never use a foreign object to hold an automatic nozzle open.
9. The Flow Meter Reading Is Inaccurate
An inaccurate meter does not automatically mean the meter has failed.
First check the complete system.
Remove air from the fuel line
Many meters register movement rather than distinguishing perfectly between fuel and air. An air leak on the suction side can therefore produce inaccurate or inconsistent readings.
Prime the system fully and repair any air leaks before calibrating the meter.
Check the installation direction
Inspect the flow-direction arrow on the meter body. A meter installed backward may not work correctly.
Check the meter’s operating range
A meter may become less consistent when operated above or below its designed flow range.
Inspect for contamination
Dirt, residue and particles may restrict or interfere with a turbine, gear or measuring chamber. Follow the meter manual’s cleaning procedure.
Do not use compressed air unless the manufacturer specifically permits it.
Recalibrate the meter
Use a verified container of known volume and follow the instructions for the exact meter. Calibration procedures differ between mechanical and digital models.
Air in the system, incorrect installation direction, changing fluid viscosity, contamination, operating outside the meter’s range and poor calibration are all recognized causes of incorrect or inconsistent readings.
10. The Fuel Hose Reel Retracts Slowly or Unevenly
A hose reel problem may appear to be a pump problem when the hose becomes twisted, kinked or poorly aligned.
Fully extend and straighten the hose
With the pump switched off and the system made safe, pull out the hose and remove any twist before allowing it to retract slowly.
Do not release the hose and allow it to rewind uncontrolled.
Inspect the hose guide
Check that the hose is passing correctly through the guide rollers and is not rubbing against the reel frame.
Check the reel mounting
The mounting surface should be solid, flat and able to support the reel and the forces created while the hose is pulled.
Loose or uneven mounting may cause the drum and guide to move out of alignment.
Inspect the nozzle-end swivel
A stiff or damaged swivel can transfer wrist movement into the hose, causing it to twist and stack unevenly on the drum.
Inspect for:
-
Stiff rotation
-
Grinding
-
Visible damage
-
Fuel seepage
-
A loose connection
Read our 360° Fuel Hose Swivel Guide to learn how nozzle movement affects hose twist and reel retraction.
Do not adjust the reel spring unless the product manual provides a specific procedure. A loaded reel spring can release stored energy and cause injury.
When to Stop Troubleshooting
Stop using the pump and contact the seller, manufacturer or a qualified technician when:
-
Fuel continues to leak after fittings are checked.
-
The pump body or motor housing is cracked.
-
A cable, connector or fuse holder becomes unusually hot.
-
You smell burning insulation.
-
The fuse or breaker trips repeatedly.
-
The motor makes grinding or scraping sounds.
-
The pump restarts unpredictably.
-
Fuel enters an electrical component.
-
You cannot verify that the pump is compatible with the fuel.
-
A safety label, rating plate or required certification is missing or damaged.
-
The repair requires opening the motor or another non-serviceable component.
Preventive Maintenance Checklist
A few routine checks can prevent many fuel transfer problems.
Before each use
-
Inspect the power cable and battery connections.
-
Check the hose for cuts, cracks and kinks.
-
Look for wet areas around fittings and seals.
-
Confirm that the source tank is properly vented.
-
Make sure the nozzle and hose are suitable for the fuel.
-
Verify that the pump is securely mounted.
At regular intervals
-
Inspect or replace the fuel filter.
-
Clean the inlet screen when permitted by the manual.
-
Tighten loose mounting hardware.
-
Check the nozzle and swivel for damage.
-
Test the meter against a known volume.
-
Inspect the fuse holder and electrical terminals.
-
Review the pump’s duty-cycle instructions.
Before seasonal storage
-
Follow the manufacturer’s procedure for draining or preserving the system.
-
Clean external fuel residue.
-
Protect the nozzle opening from dirt and water.
-
Store portable components in a dry, ventilated location.
-
Keep electrical connections protected from corrosion.
Frequently Asked Questions
Why does my fuel transfer pump run but not pump fuel?
The most common causes are an air leak in the suction line, a suction pipe that is not submerged, a blocked filter or nozzle, a closed tank vent, low fuel level or excessive distance between the pump and the source fuel.
Why is my 12V fuel transfer pump running slowly?
Check battery voltage under load, electrical connections, the filter, suction screen, hose size, hose length, nozzle, fuel temperature and suction lift. Restrictions anywhere in the system can reduce the final flow rate.
How long can a fuel transfer pump run continuously?
There is no universal operating time. Follow the duty-cycle rating for the exact model. Stop the pump if it becomes unusually hot, loses flow or activates thermal protection.
Can I replace the pump fuse with a larger fuse?
No. Use only the fuse type and rating specified by the manufacturer. Repeated fuse failure indicates an electrical or mechanical problem that should be corrected.
Can the same transfer pump be used for diesel and gasoline?
Only when the exact pump model, motor, hose, nozzle, seals, meter and other components are specifically approved for both fuels. Do not assume that every pump sold for diesel is suitable for gasoline.
Why does the automatic nozzle keep clicking off?
The flow may be too high for the fill pipe, the nozzle may be positioned incorrectly, fuel may be splashing onto the sensing port, or the spout or venturi opening may be dirty or damaged.
Why is the actual flow lower than the advertised GPM?
Published flow ratings are measured under defined test conditions. A real installation may have additional resistance from vertical lift, long hoses, filters, meters, fittings, nozzle restriction, voltage drop and cold fuel.
Final Thoughts
Effective fuel transfer pump troubleshooting begins with the complete system—not just the pump motor.
Start with the power supply, fuel level, suction connections, filter and hose. Confirm that every component is compatible with the fuel and correctly sized for the expected flow. Follow the product manual, respect the duty cycle and stop immediately when you find a leak, electrical fault or damaged safety component.
BreAro currently offers 12V fuel transfer pump configurations from 10 to 20 GPM, including manual-nozzle, automatic-nozzle, filter and mechanical-meter options. Compare the specifications and fuel compatibility of the exact model before selecting a replacement or building a new system.
Shop BreAro Fuel Transfer Pumps
Not sure which configuration fits your tank, vehicle or application?
Comment